Introduction
This guide is intended to help you label accessibility features and problems in Project Sidewalk. It is based on specifications from the Americans with Disabilities Act (ADA) and related documents, and describes different accessibility problems, where and how to place labels, and how to rate severity (including ADA citations where appropriate).
How to Place a Label
You should place labels at the center of curb ramps or surface problems, and at the base of obstacles. Try to get as close as possible to an object that you are labeling. Labeling from farther away will be less accurate!
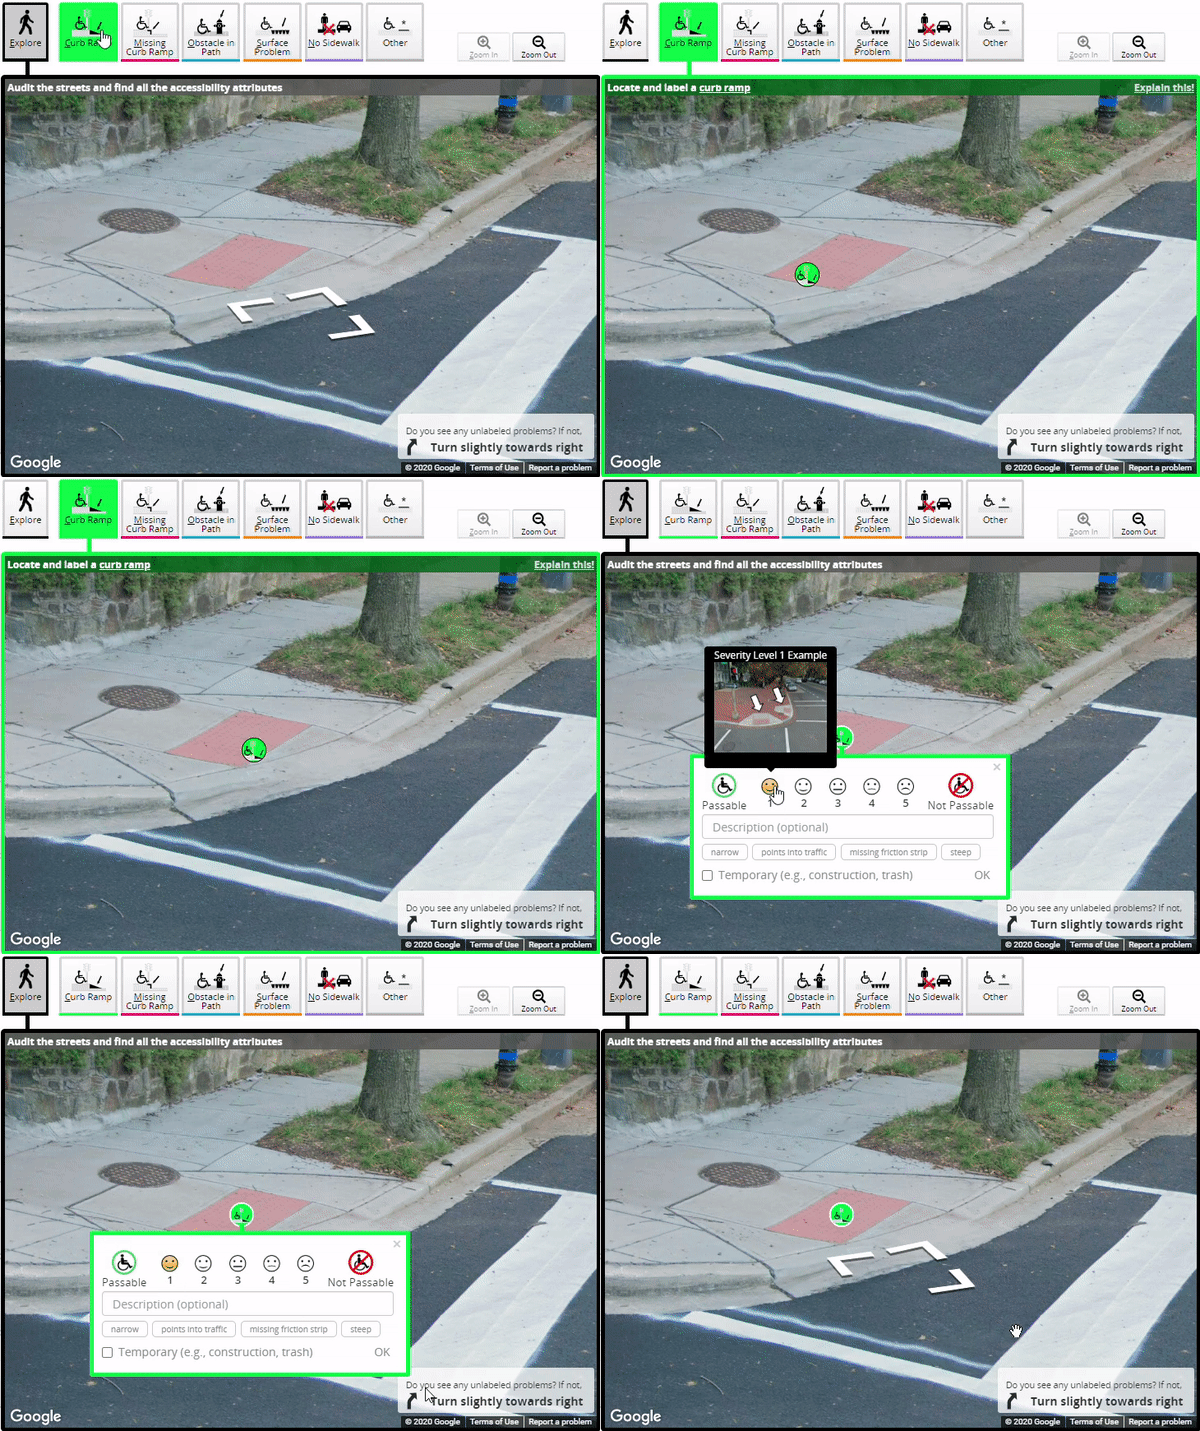
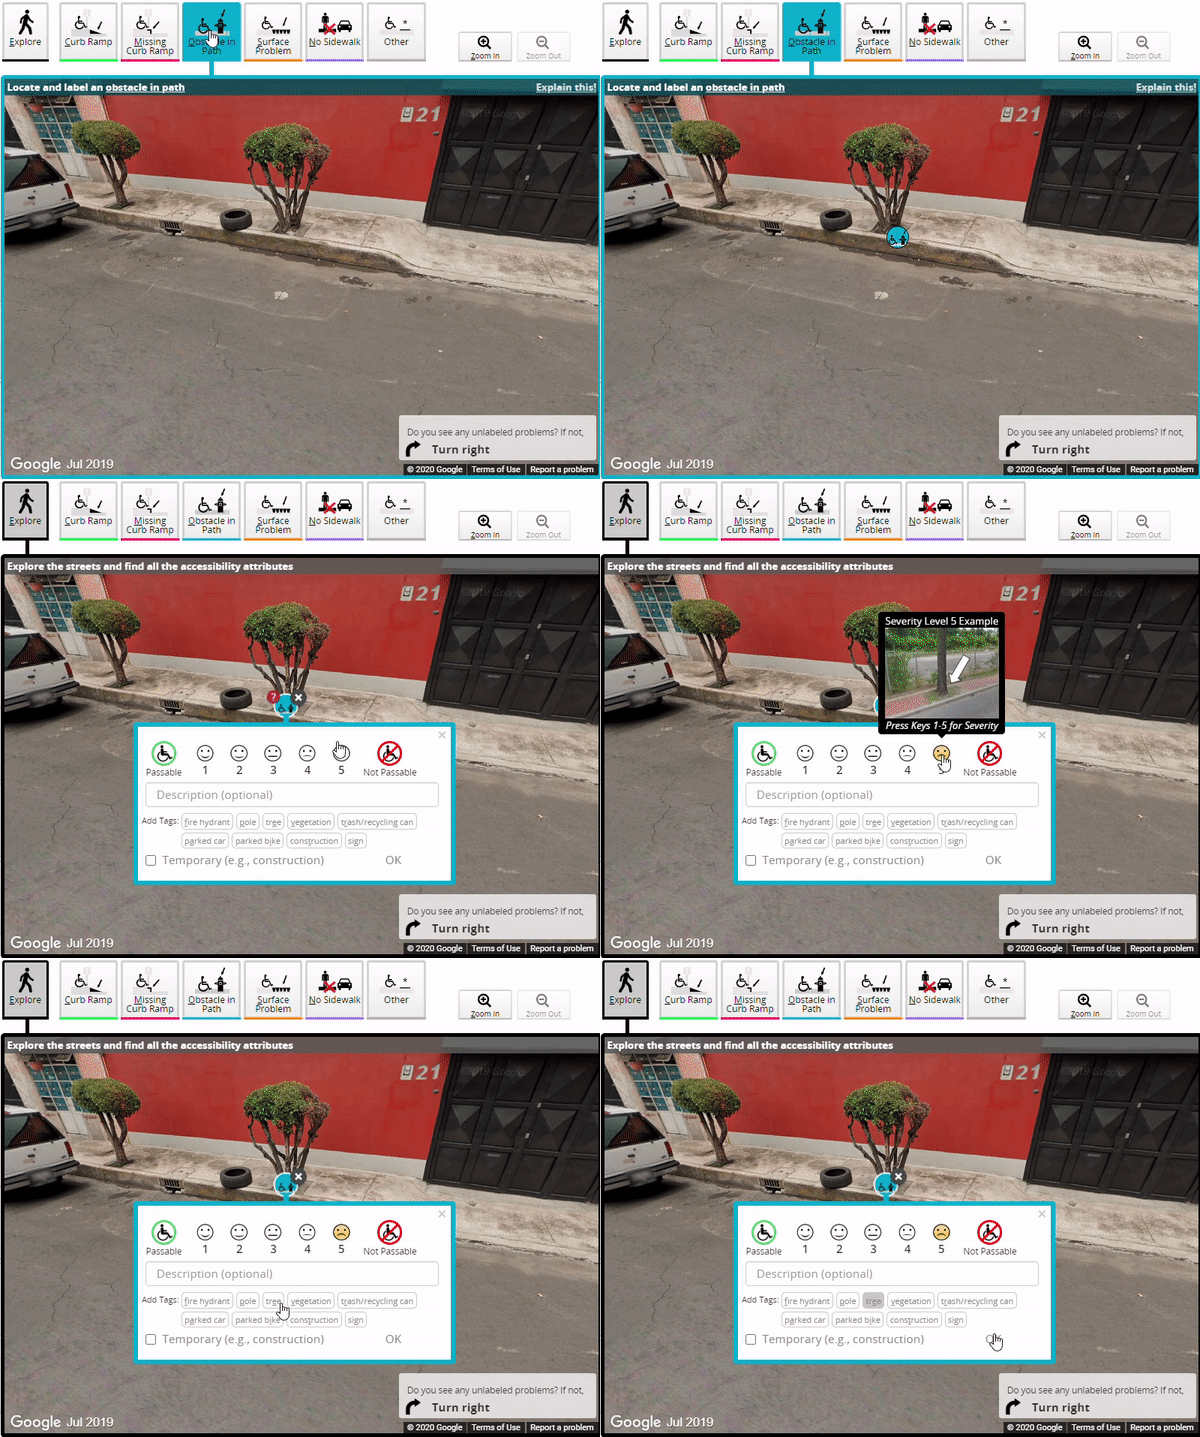
How do I know which image to label a problem from? Often, an accessibility problem is visible from multiple viewpoints (Google Streetview Images). You only need to label a problem once and you should do so from the place where it is most visible or closest (technical aside: being closer to the thing you label makes the label location more accurate). You can, of course, label problems multiple times from different viewpoints (but this takes more time and is unnecessary).
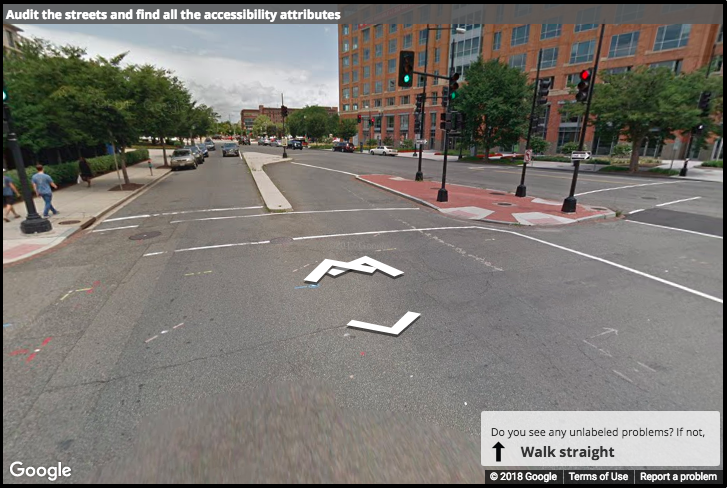
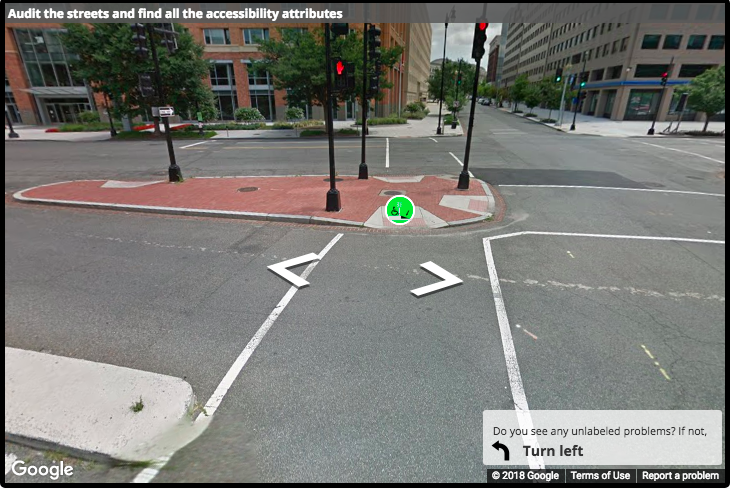
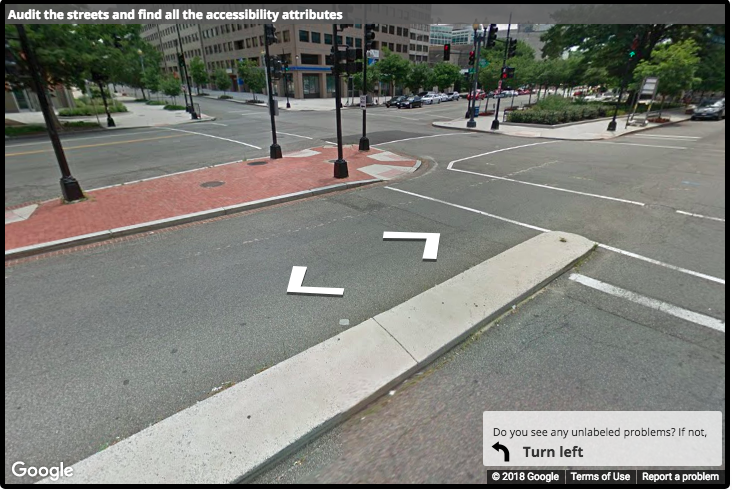
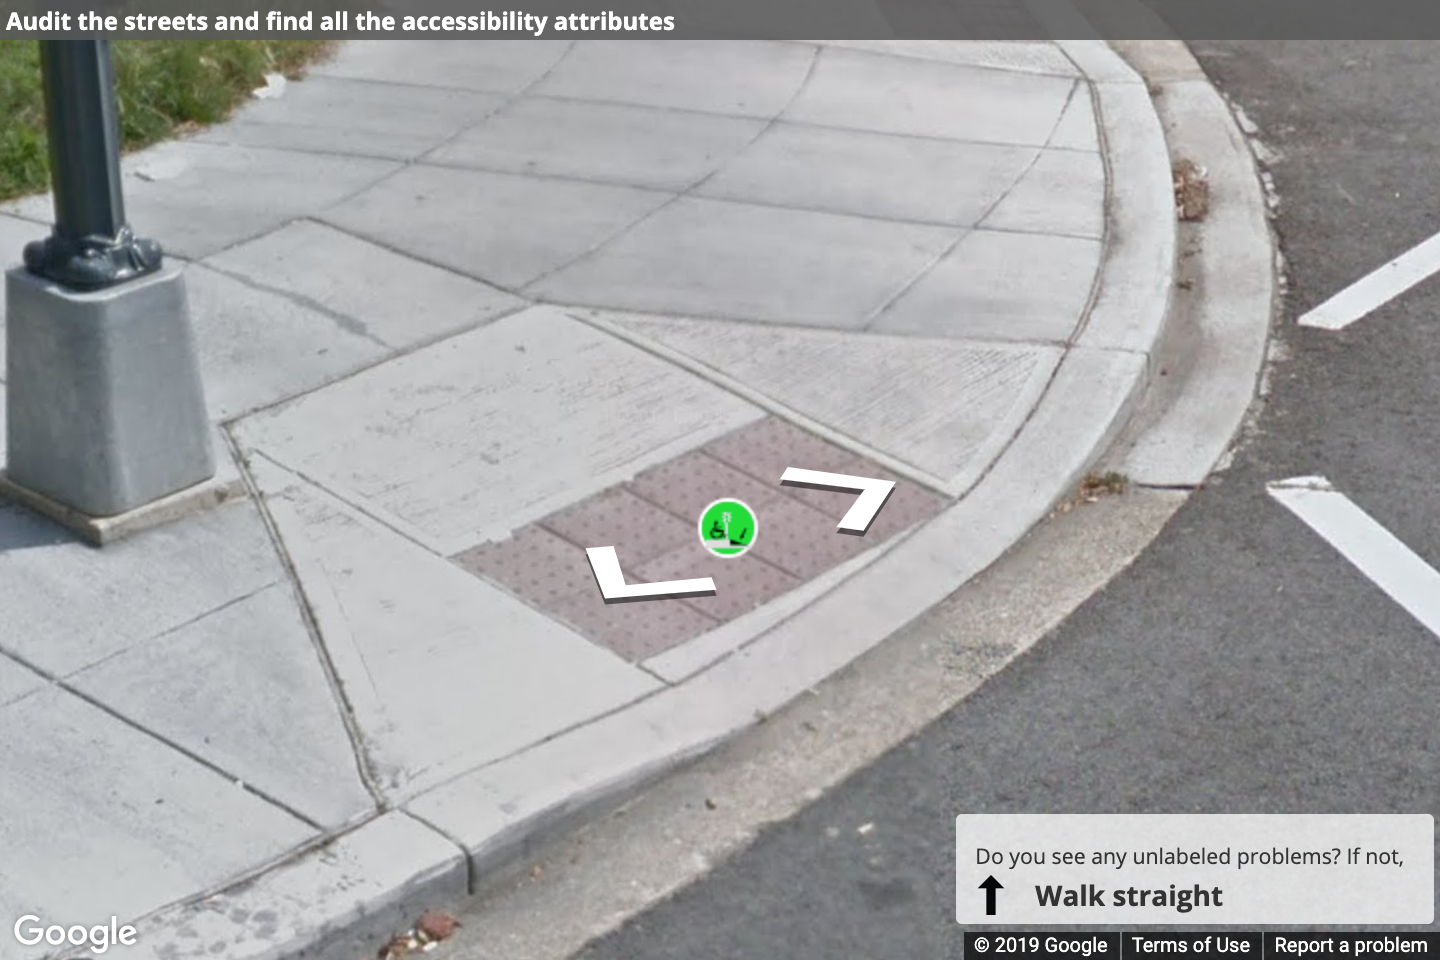
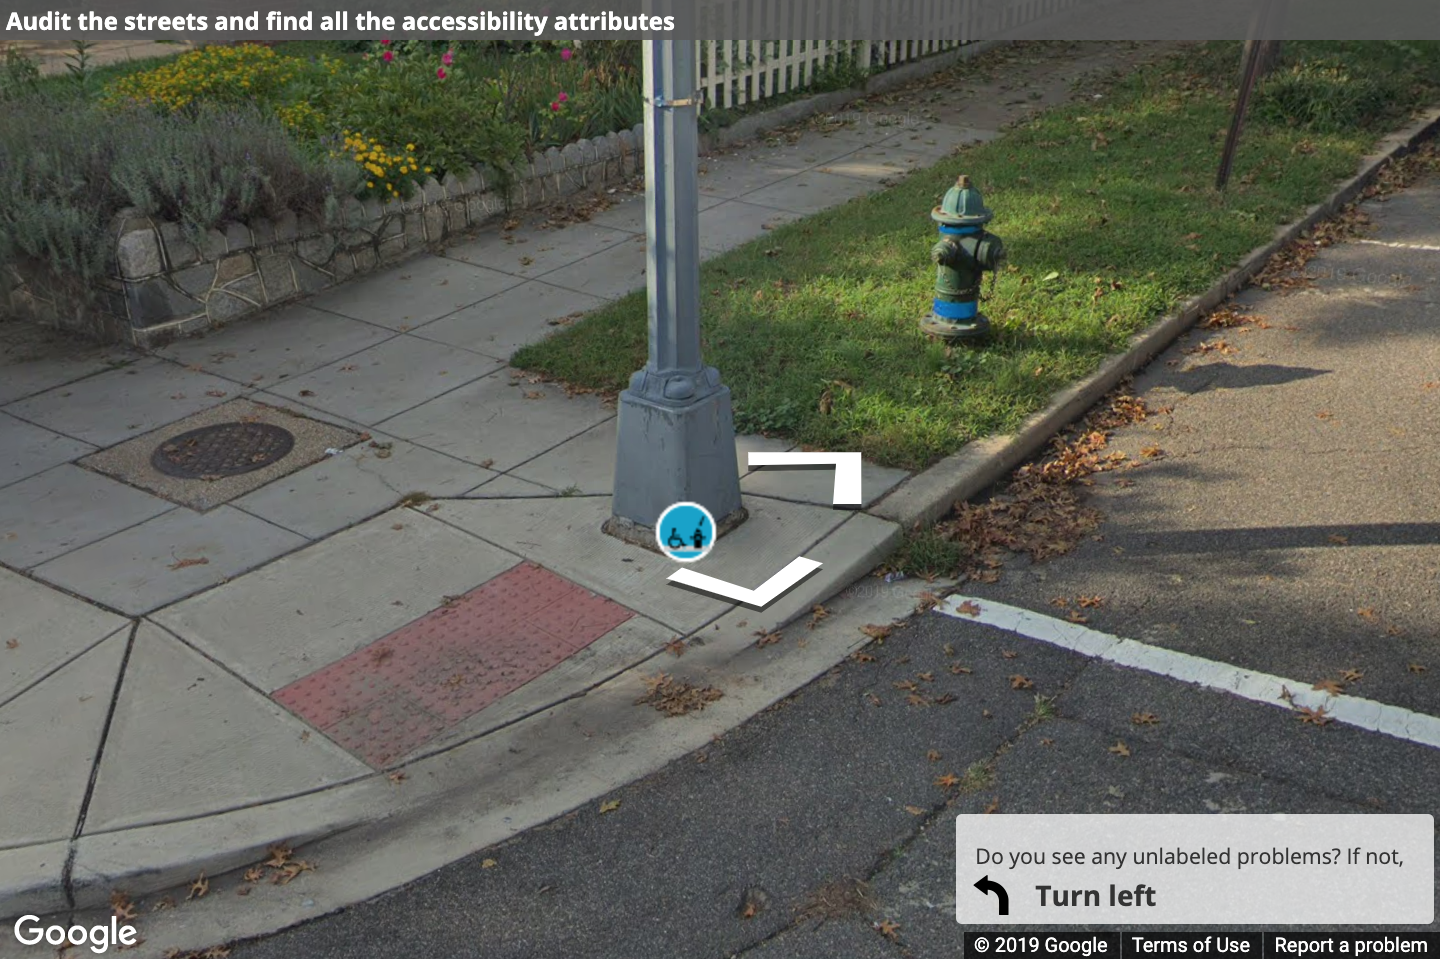
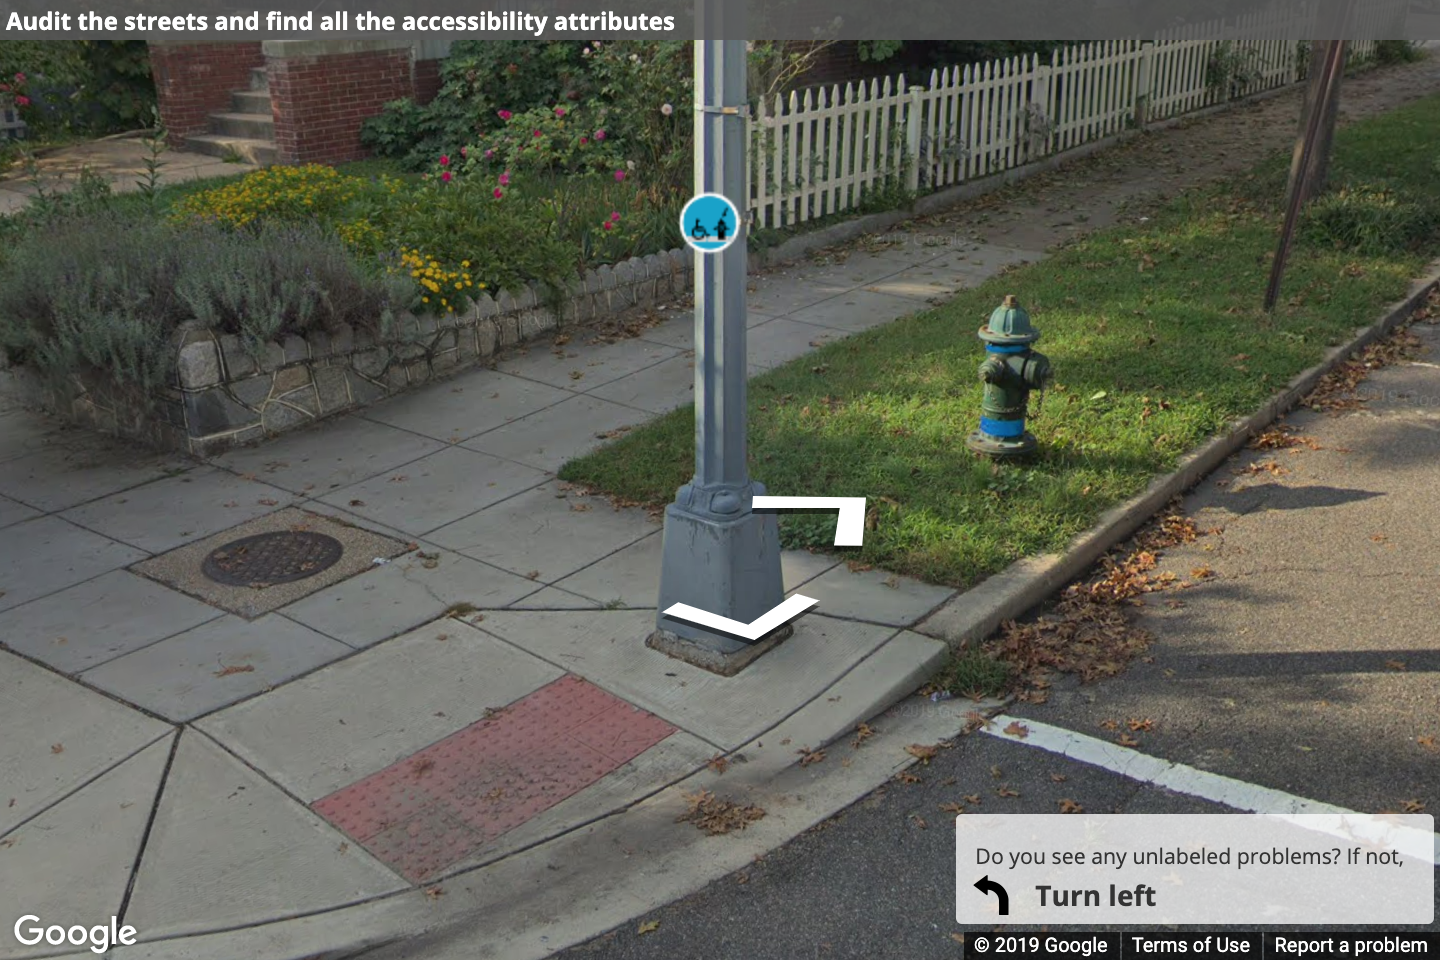
Specifically, where should I place a label on an identified accessibility feature or problem? You should place labels at the center of a curb ramp or surface problem, and at the base of an obstacle. This is both to standardize the placement and, in the case of obstacles, making sure that the location is accurate. Placing a label higher than the base of an obstacle can give very inaccurate latitude/longitude values. The left and center images show correct placement, and the right image shows incorrect placement.
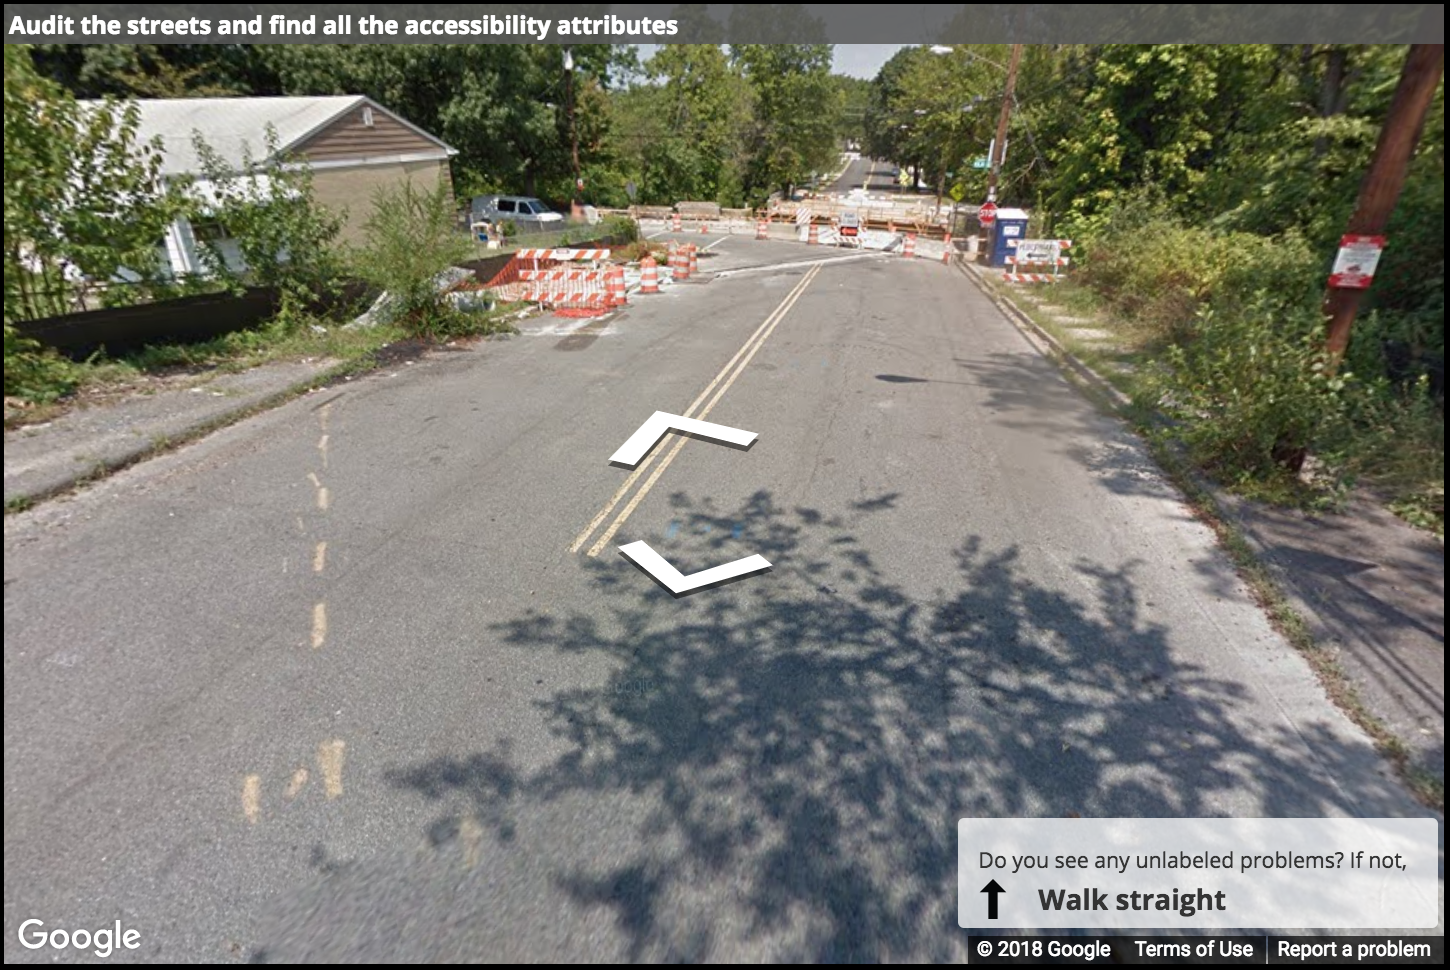
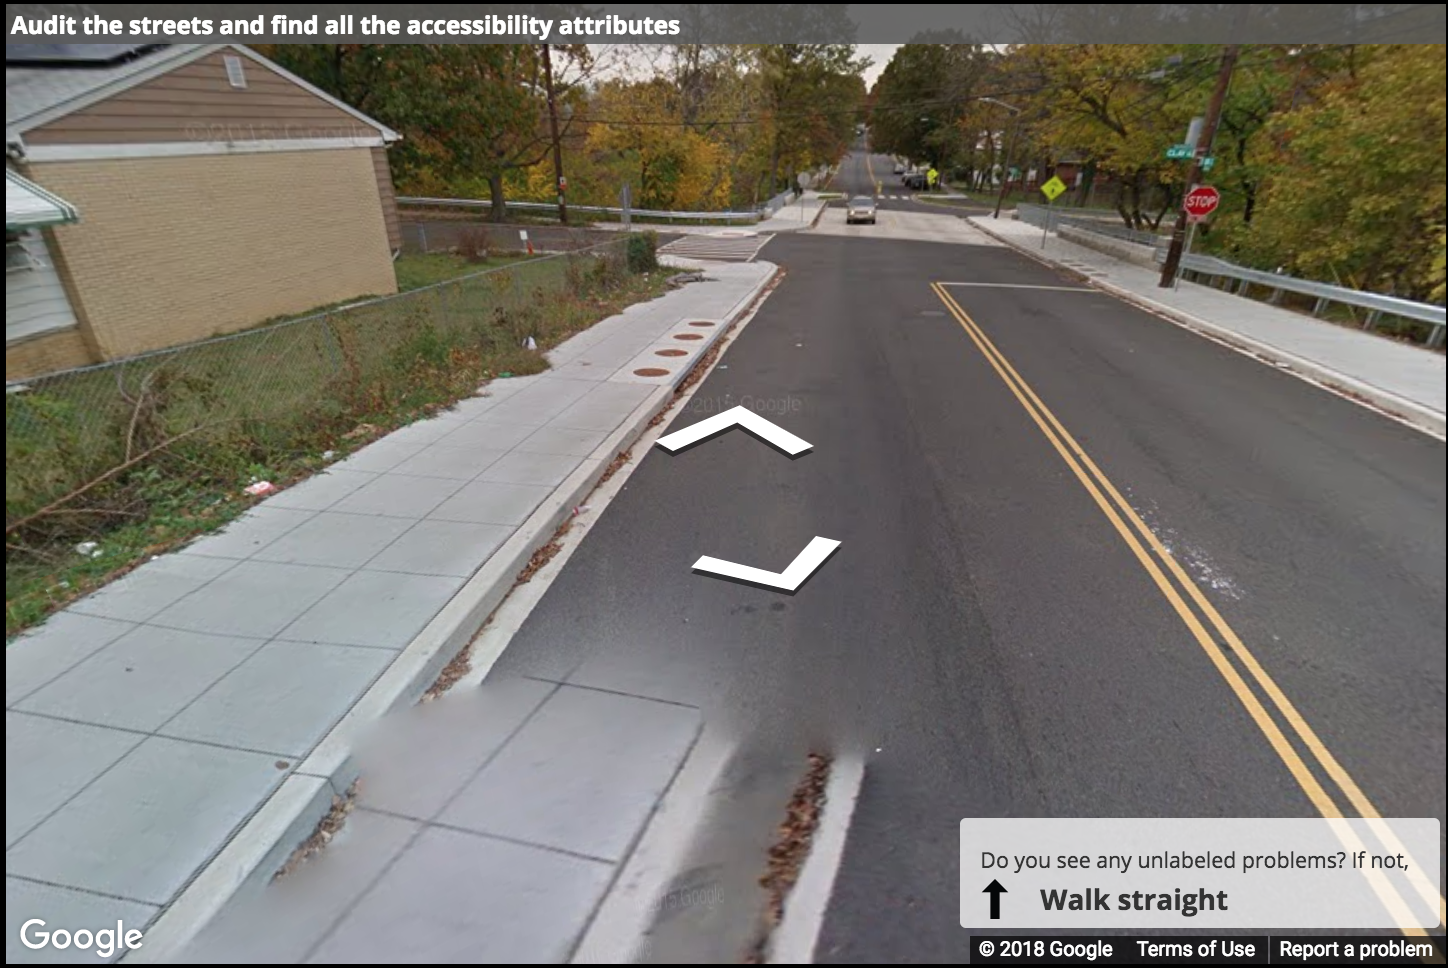
What happens if a location has been updated from one viewpoint to the other? If you move from one image to another and things change (temporary obstacles like construction are removed, a curb ramp has been added or improved, etc), then label each panorama appropriately. When doing this, also click the feedback button and write a message saying what changed between the 2 panos. You do not need to label the same problem from multiple panoramas if nothing changes.
